Making and Deploying an AI Web App in 2023 (Part 9)
Deploy a Simple Frontend for an AI App
By this point we have everything on the backend already setup, we just need a nice way to interact with it. In this post we’ll make a very simple website which will call our backend and display the results using a bit of JavaScript.
Basic Functionality
The first thing to do is to get a rough sketch of what we need to display.
We’ll make a index.html file in the root of our project:
<!DOCTYPE html>
<html lang="en">
  <head>
    <title>AI Web App</title>
  </head>

  <body>
    <h1>Search</h1>
    <div>
      Search query:
      <label for="formQuery"></label><input id="formQuery" type="text" /><br />
      <input type="button" value="Search!" onclick="search()" />
    </div>

    <div>
      <table id="results">
        <tr>
          <th>Score</th>
          <th>Text</th>
          <th>Title</th>
        </tr>
      </table>
    </div>
  </body>
</html>
This is just a simple text field where you will write the query, a button to execute it,
and a table in the bottom where the results will appear.
When the button is pressed, the JavaScript engine calls the search function, which we still need to write.
Let’s add the search function to the <head></head> section of the page
which takes the input from the text field, submits a request to our backend,
and populates the table with the results:
<script type="text/javascript">
  function processResult(result) {
    return `<td>${result.score}</td><td>${result.text}</td><td>${result.title}</td>`;
  }

  function search() {
    const query = document.getElementById("formQuery");
    if (query) {
      const uri = encodeURI(`http://127.0.0.1:8080/search?query=${query}`);
      fetch(uri)
        .then((response) => response.json())
        .then((data) => {
          console.log(data);
          document.getElementById("results").innerHTML =
            "<tr><th>Score</th><th>Text</th><th>Title</th></tr><tr>" +
            data.map(processResult).join("</tr><tr>") +
            "</tr>";
        })
        .catch((error) => {
          console.error(error);
        });
    }
  }
</script>
This code assumes our backend is deployed locally (at http://127.0.0.1:8080).
Later on this URL will need to be changed to the URL of our backend, wherever it is deployed
(see Part 8).
Running
To test this, open up 2 terminal windows. In one, run the backend
hatch run serve
and in the other one, run the frontend
python -m http.server
You can now visit http://127.0.0.1:8000 and will see the page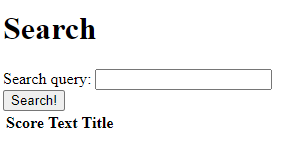
You can try writing a query and submitting it.
Your browser will display an error: CORS
doesn’t allow the browser to fetch content from http://127.0.0.1:8080 (the backend) while the
user is visiting http://127.0.0.1:8000 (the frontend).
We need to set some headers in our backend to allow this.
In app.py add the CORS middleware, and configure it take the CORS origin from an environment
variable CORS_ORIGIN.
Add this code to the file (after the app variable is defined):
from starlette.middleware.cors import CORSMiddleware


def get_cors_origin() -> str:
    cors_origin = os.getenv("CORS_ORIGIN")
    if cors_origin is None:
        raise ValueError(
            "`CORS_ORIGIN` environment variable not defined! "
            "Please set this to the domain from which requests "
            "to the backend will be made."
        )
    return cors_origin


origins = [
    get_cors_origin(),
]

app.add_middleware(
    CORSMiddleware,
    allow_origins=origins,
    allow_credentials=True,
    allow_methods=["*"],
    allow_headers=["*"],
)
Now stop the backend and run it again with
CORS_ORIGIN=http://127.0.0.1:8000 hatch run serve
and querying now works!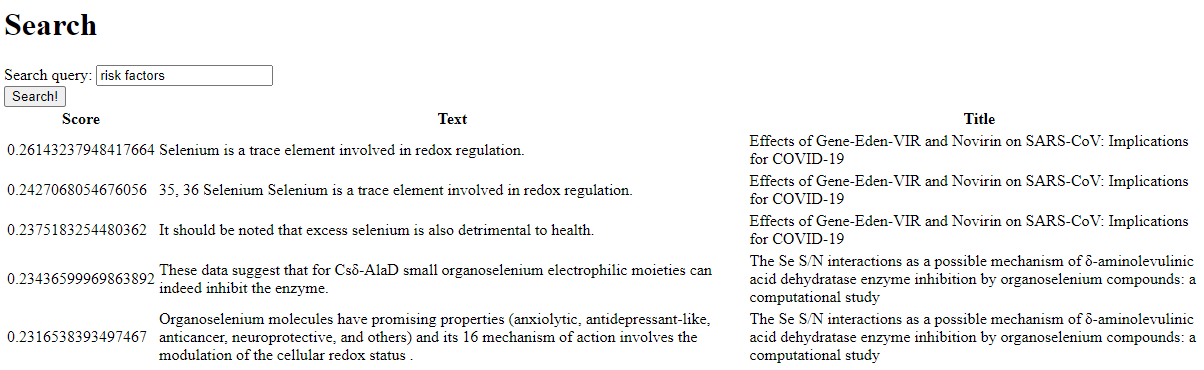
[Optional] Styling
The table isn’t so easy to read. An easy fix is to add a style to it. We can copy the one from w3schools; just add this to the head section of the HTML:
<style>
  table {
    font-family: arial, sans-serif;
    border-collapse: collapse;
    width: 100%;
  }

  td,
  th {
    border: 1px solid #dddddd;
    text-align: left;
    padding: 8px;
  }

  tr:nth-child(even) {
    background-color: #dddddd;
  }
</style>
And now our table looks a lot better :)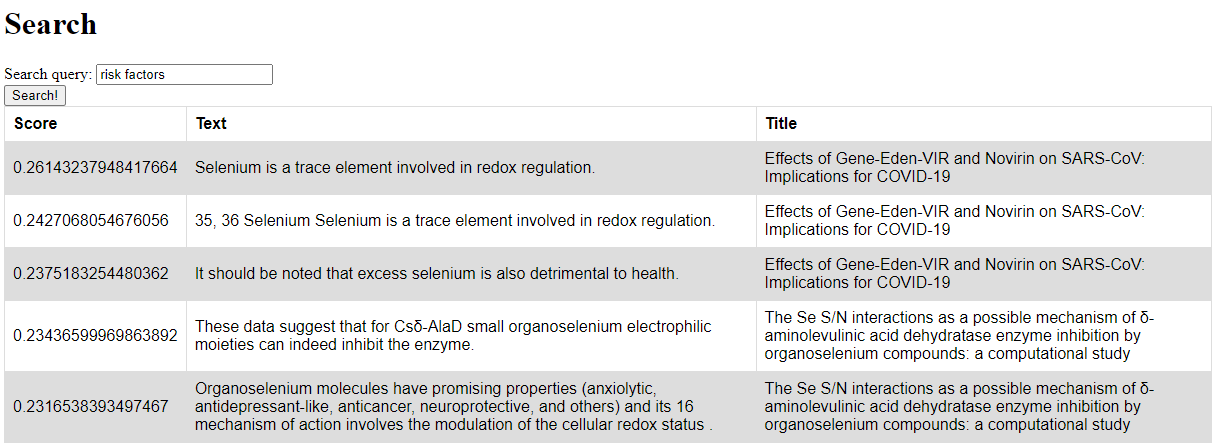
Deploy
You can now deploy this version of the backend to your cloud provider (see Part 8), and deploy the frontend somewhere that’s publicly accessible. There’s plenty of services where you can deploy a static frontend such as this. Some of the most popular ones are GitHub Pages, Netlify. You can also use a cloud blob storage service such as Google Cloud Storage or AWS S3, and point your own domain to the blob with the HTML.
Remember to update your backend deployment with the new code above (introducing the CORS middleware),
and to setup the CORS_ORIGIN to the URL of the frontend.
Also don’t forget to update the URL of the backend in the HTML file above.
And that’s all, we finally have a fully functioning AI web app! :)
For comments or questions, use the Reddit discussion or reach out to me directly via email.