Making and Deploying an AI Web App in 2023 (Part 5)
Implement and Test a Python Backend Server
This is part of a multi-part blogpost about how to build an AI Web App. Please refer to Part 1 for more context.
This post uses FastAPI as the web framework and Uvicorn as the web server.
Some alternatives to FastAPI are Flask, Starlette, and Django. Alternatives to Uvicorn include Gunicorn, Hypercorn, nginx.
By this point we have an AI project that we’re happy with, and want to make it easily available. The goal of this post is to write a simple backend service that calls the Python code from Part 4, and returns a result in some readable form, such as JSON.
Backend
For our case, we only want to expose the search function (see Part 4 for details).
The first thing to do is to add our dependencies to pyproject.toml.
We want to add fastapi and uvicorn to our config file.
FastAPI allows us to write Python code to define the API with type hints (what goes in and what comes out),
as well as the Python logic to be executed (what happens in between).
Uvicorn will allow us to actually serve our Python code as an HTTP service.
Let’s start by making a new file app.py in the root of our project.
In this file, we define a function search_endpoint which receives a query and calls our search function to
query our database.
from pathlib import Path
from typing import List

from fastapi import FastAPI
from loguru import logger

from ai_web_app.main import Result, index_embeddings, search

app = FastAPI()

logger.info("Indexing database...")
database_path = Path("./articles.sqlite")
embeddings = index_embeddings(database_path)


@app.get("/search")
async def search_endpoint(query: str, topn: int = 5) -> List[Result]:
    results = search(embeddings, database_path, query, topn=topn)
    return results
To make this easier to run, we should also add a new script to our pyproject.toml file
(add the following script to the appropriate section)
[tool.hatch.envs.default.scripts]
serve = "uvicorn app:app --port 8080"
and then we can simply run this command to start the server:
hatch run serve
Running that command should index our database (took ~10s on my computer) and start serving
requests on port 8080.
We can test how this looks like by running in another terminal window
curl -X GET "http://127.0.0.1:8080/search?query=symptoms%20of%20covid"
If you’ve been following so far, this is what you should get as a response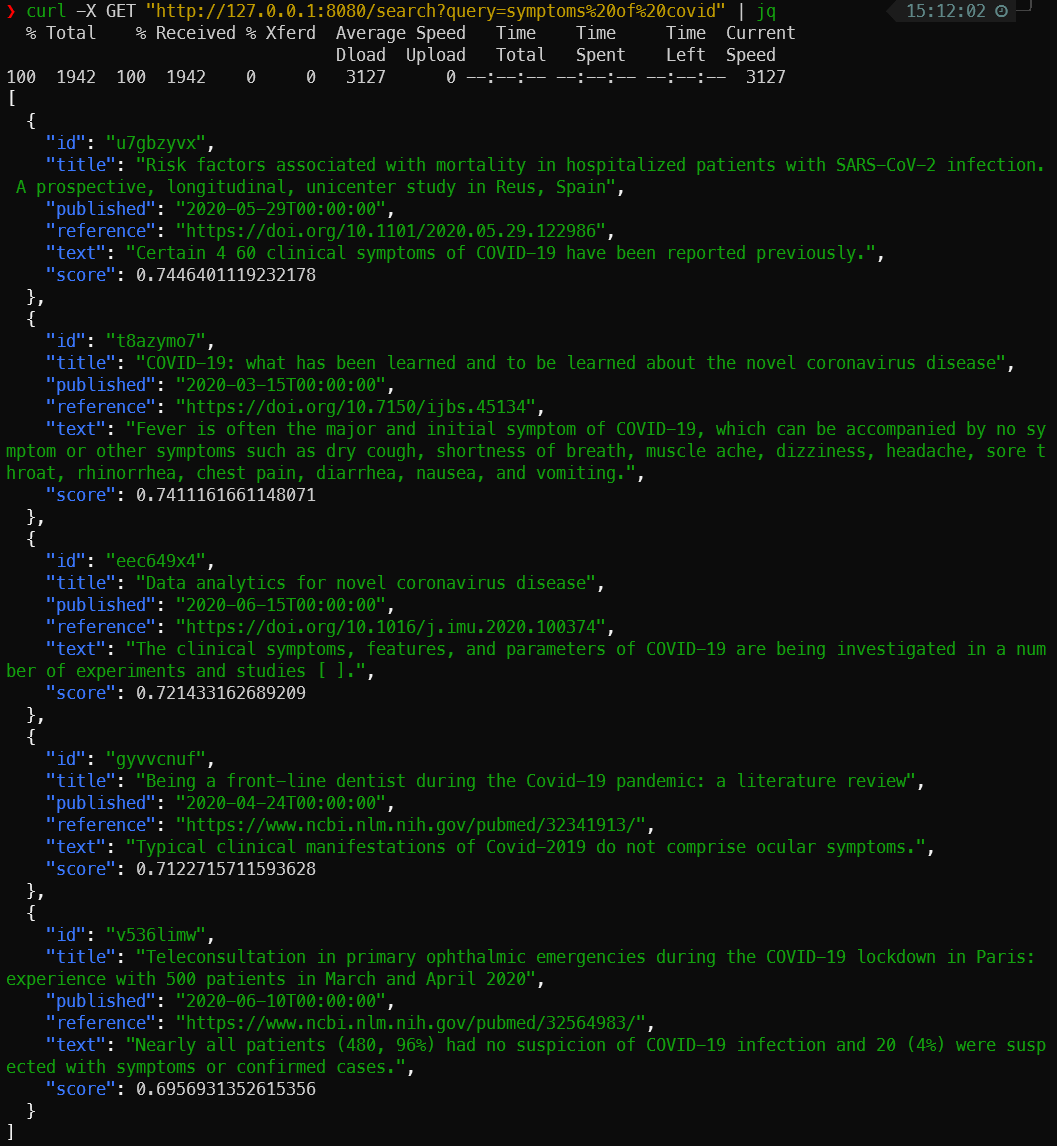
Integration Tests
To make sure our backend endpoint behaves as expected even if we change it in the future, we should set up some simple integration tests.
For this, we will use pytest-xprocess to launch our server as a separate process, and then make some simple requests and assert that the response is as expected.
First of all, we need to add pytest-xprocess to our dev dependencies in pyproject.toml.
After that, we create a file tests/test_app.py:
import pytest
import requests
from xprocess import ProcessStarter


class TestPythonServer:
    @pytest.fixture(scope="module")
    def server(self, xprocess):
        class Starter(ProcessStarter):
            timeout = 600
            pattern = "Application startup complete"
            args = ["hatch", "run", "serve"]

        xprocess.ensure("server", Starter)
        url = "http://127.0.0.1:8080"
        yield url

        xprocess.getinfo("server").terminate()

    @pytest.mark.integration
    def test_valid_search(self, server):
        topn = 5
        response = requests.get(
            server + "/search", params={"query": "symptoms of covid", "topn": topn}
        )

        assert response.status_code == 200
        assert len(response.json()) == topn

    @pytest.mark.integration
    def test_empty_search(self, server):
        response = requests.get(server + "/search")

        assert response.status_code == 422
This file defines a class with 3 methods:
serverstarts up our web server, and waits for it to be available. It’s configured to wait until it sees the words"Application startup complete"in the output ofhatch run serve.test_valid_searchmakes a simple request and assures that the response is valid, and has the correct number of requested results. You could spend a lot of time here coming up with better test cases, but for this simple app there’s not that much that can go wrong.test_empty_searchtests a case where the incoming request doesn’t have any query. In this case, the server should return an error. It is important to verify your assumptions of the behavior for failing cases, so you don’t have silent errors in your system.
You can also add this as a new script in the pyproject.toml file:
[tool.hatch.envs.default.scripts]
integration = "no-cov -m integration -x"
One final thing for the integration tests: typically these tests are quite slow to run, as they require an often lengthy setup process. As such, we shouldn’t run these tests every time.
In the file above, we marked the tests with @pytest.mark.integration.
This allows us to configure pytest to not run those tests by default.
We can do that by adding this to our pyproject.toml file:
[tool.pytest.ini_options]
addopts = "--strict-markers -m \"not integration\""
markers = [
    "integration: slow tests, shouldn't be run so often"
]
Now we can differentiate between running unit tests (hatch run cov) and integration tests (hatch run integration).
To continue this tutorial, go to Part 6.
For comments or questions, use the Reddit discussion or reach out to me directly via email.